
A guide on how a media-rich, interactive timeline can help support your course.
About TimelineJS
TimelineJS is an open-source tool that enables users to build visually rich, interactive timelines. You can incorporate images, videos, and audio with your timeline to create time-based narratives. Interactive timelines can be utilized as a study resource on GLOW or be implemented as a collaborative group project for students in a seminar setting. TimelineJS combines two main elements: a slide deck at the top that displays text and other media that describes events included on the timeline track below. The timeline is visible at all times, no matter where in the slide deck you are.

Features
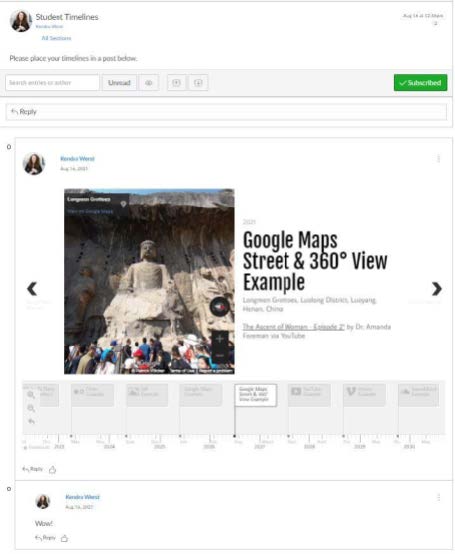
Images from your course will be hosted in Google Drive and placed on your course’s timeline. For works that require multiple images, such as details of works or architecture and architectural plans, a Google Slides presentation will be embedded and will autoplay a slide deck of the images. Additionally, TimelineJS can pull in media from a variety of sources: YouTube, Vimeo, Google Maps, Twitter, Flickr, Giphy, Instagram, Wikipedia, and SoundCloud.

Navigation
As users make their way through the timeline they can either follow a narrative pathway by clicking on the “next” arrow in the slide viewer or by clicking on events in the timeline itself. Users are able to Zoom in and out of the timeline track. To head back to the start of the timeline, click the arrow underneath the two magnifying glasses.
Groups
You can organize your images and events by implementing groups. Each group created makes a separate “track” on the timeline. See below for an example from ARTH 272 Arts of the Buddhist World.

Study Resource Example
Place an interactive timeline on your course’s homepage on Glow and have your timeline updated after every lecture. For example, ARTH 101 and 102 utilized an interactive timeline as a way for students to study image IDs for exams and to better engage with the content chronologically. Choose which details you’d like to include about the works or events you will be discussing (creator, title, date, location, etc) and if you would like to set up links to a lecture handout in Glow, Artstor group, or an external link.

Collaborative Student Project Example
After a training session in the VRC flex space (handout included), students will be able to create and manage an interactive timeline using a Google spreadsheet. Student’s timelines may be placed in a discussion thread on Glow or anywhere in Glow with a rich content editor.
An example of a collaborative student project could be to ask students to select two artists whose lives, work, or ideas intersect in some way. Students could be asked to include works of art from the artists’ history, as well as any relevant historical events, that could help tell a larger story about how the two artists intersected throughout time and what viewing their work on the same timeline can tell us about world history.
Please contact Kendra if you would like to plan an interactive timeline for your course or if you have any questions. Kendra Werst, Assistant Visual Resources Curator, [email protected]
Megamenu Social